Dynamics 365: Share and Share Alike
Have a dashboard that is the envy of your colleagues? Created a view that would benefit your office mate? Is there a Dynamics 365 User that cannot access a record of yours and needs to, but security provisions are preventing him from doing so? If any of these apply, I encourage you to read on.
Sharing personally created views, charts, dashboards, and even records in Dynamics 365 could not be easier. Follow the steps below, and within seconds you will see just how simple it is to grant and give access to components within D365.
To Share Records:
1. Navigate to the entity that contains the records you want to share.
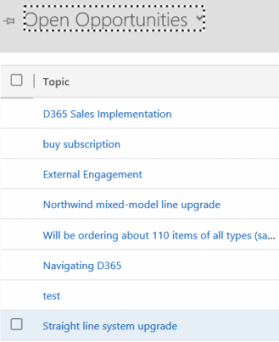
2. Select the records to share.
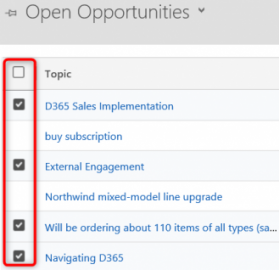
3. Click Share in the command bar.

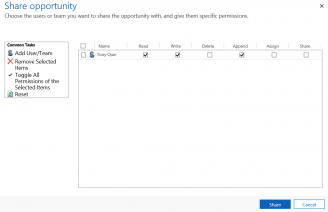
4. Select Add User/Team.
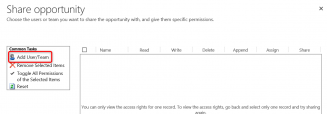
5. Select the user or team you want to share the view(s) with.
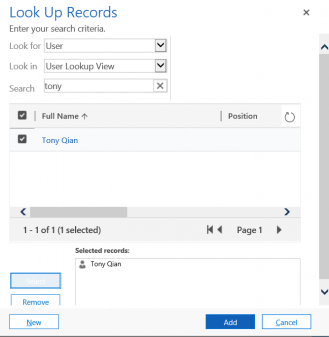
6. Then select the level of access and click Share.
To Share Personal Views:
1. Navigate to the Advanced Find Query feature.

2. In the Look For dropdown, select the entity which contains the View you want to share.

3. Next select, Saved Views.

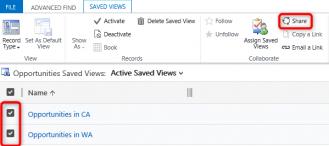
4. Place a check next to the view(s) you want to share and select Share in the ribbon. Note: You can select 1 or more.
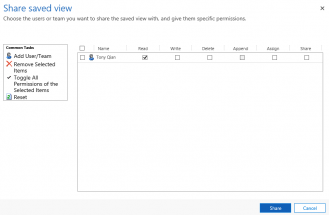
5. Select the user or team you want to share the view(s) with and then select the level of access.
To Share Personal Charts:
1. Navigate to the Entity which contains the chart you want to share and select the chart.
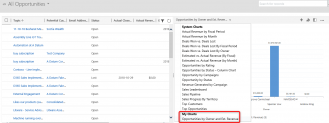
2. Click the ellipses to display more options and choose Share.

3. Select the user or team you want to share the chart with and then select the level of access.

To Share Personal Dashboards:
1. Navigate to your Dashboards and select the Dashboard you wish to share.
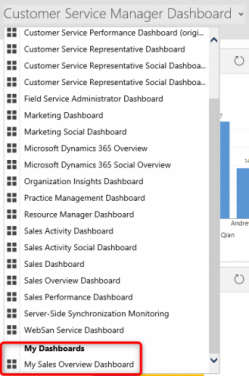
2. In the command bar, choose Share Dashboard.

3. Select the user or team you want to share the dashboard with and then select the level of access.

And just like that, you can give licensed Users just the right amount of access to records and analytics they otherwise would be unable to surface. If you have any questions or need assistance, we are always available at